The Best eSIM for Japan That Actually Worked for Me
Worried about getting around Japan on your next trip? Same.
The moment we booked our flights, I knew we needed reliable internet. Trains, parking signs, Google Maps, even ordering ramen—it’s all easier when you’re connected.
I’d been to Japan before, back in 2018. But I was on a student exchange back then, so I didn’t need to figure anything out on my own. This time, we were on our own.
And Japan isn’t the easiest place to wing it. Most road signs, menus and food labels are in Japanese. Many locals outside the big cities don’t speak English.
I used Airalo eSIM across six cities and towns—from Tokyo to Uji—and it never failed us once. Honestly, without this eSIM, our car probably would’ve been towed a few times.
In this post, I’ll share the best eSIM for Japan, how to set it up in under a minute, which data plans are actually worth it (including unlimited options!), and how to save some yen with a discount code.
This post contains affiliate links, including a partnership with Airalo. That means I may earn a small commission if you buy through my links—at no extra cost to you. I only recommend products I actually use, love, and trust. Opinions are 100% my own. Read my full disclosure here.
Why I’ll Never Use Pocket WiFi Again
Never used an eSIM before? Don’t worry. It sounds more complicated than it really is.
An eSIM (embedded SIM) is a digital version of a SIM card. It allows you to connect to a mobile network without inserting a physical SIM.
No visits to kiosks. No swapping your physical SIM (which you probably still need for OTPs or banking apps). Just buy a plan online, scan a QR code, and you’re connected.
Why I Prefer eSIM Over Pocket WiFi or Physical SIMs:
- No airport lines
- No returns or drop-offs
- No tiny SIMs to lose
- No extra gadgets to charge
- No need to haggle or guess which shop is legit or has the best value
- Instant activation, even before you land in Japan
If your phone is unlocked and eSIM compatible, you’re good to go.

The Day I Learned About eSIMs
When I was backpacking through Sri Lanka, I first heard about eSIMs. I wanted to buy one… but my iPhone was carrier-locked. So I couldn’t use it.
I ended up buying a pocket WiFi device after visiting several shops. It was expensive, and I after that trip I never used it. It’s still in a drawer somewhere.
I made the switch to eSIM in 2022 and haven’t looked back. I hate the stress of comparing prices in shops, trying to understand what I’m buying, and risking losing my SIM every time I swap it.
Sure, you can still use physical SIMs or pocket WiFi in Japan. But for me, eSIM just works better. Especially since you never know when you’ll need data on arrival—like when immigration asks for your hotel address.
The eSIM I Used in Japan
I’ve been using eSIMs for 3 years now across 7 countries. I’ve used several ones like Airalo, Yesim, Saily, and Freewie.
Most offer similar plans. But not all are easy to set up.
I once got stuck at Taipei Airport for hours because my eSIM didn’t have data—even though it was installed properly.
I patiently connected to the airport WiFi and chatted with support for an hour. Imagine arriving late at night, trying to catch the last check-in… or worse, landing at an airport without WiFi at all. (Yep, true story!)
Some eSIMs also advertise “unlimited data,” but actually have daily caps—like 500MB to 1GB per day. After you hit that, the speed drops to the point where even Google Maps won’t load. So even if you’re “connected,” it’s barely usable.
That’s exactly why I keep choosing Airalo.
It’s the eSIM I go back to every time. Here’s why:
- Super easy setup
- Instant activation
- Affordable plans
- Never failed me (not even once)
I’ve partnered with Airalo to give my readers a special discount—but honestly, even if I hadn’t, I’d still be using them. Every time I travel, it’s the first app I check for data plans.
I used the unlimited plan for 10 days
For our Japan trip, I chose the 10-Day Unlimited Data plan. It cost $35 USD.
We didn’t join a tour. I organized everything myself. That meant booking hotels, navigating while Mat is driving, finding restaurants, konbini and even a sushi making class.
We also used it everyday to look for directions to temples, sightseeing spots and even bathrooms! I also shared my hotspot with my brother since his phone isn’t eSIM-compatible.
On top of that, I work remotely. I had to upload photos and videos for my team and update this blog on WordPress.
The Airalo eSIM handled it all—from streaming music to uploading to Google Photos—without any issues.
I’ve partnered with Airalo to give you a special discount for your eSIM.
- Get 15% off new users with code GLADIS15
- Get 10% off existing users and top ups with code GLADIS10
Other Data Options for Japan
Depending on your trip, here are a few other Airalo Japan eSIM plans that might work better:
- $4.5 USD – 1GB for 7 days (short trip or backup internet)
- $6.5 USD – 2GB for 15 days
- $8 USD – 3GB for 30 days (basic navigation for long trips)
- $25 USD – 20GB for 30 days (perfect for slow travelers or digital nomads)
All these options are prepaid, no contracts, and you can top up anytime inside the app.

eSIM Setup at the Airport
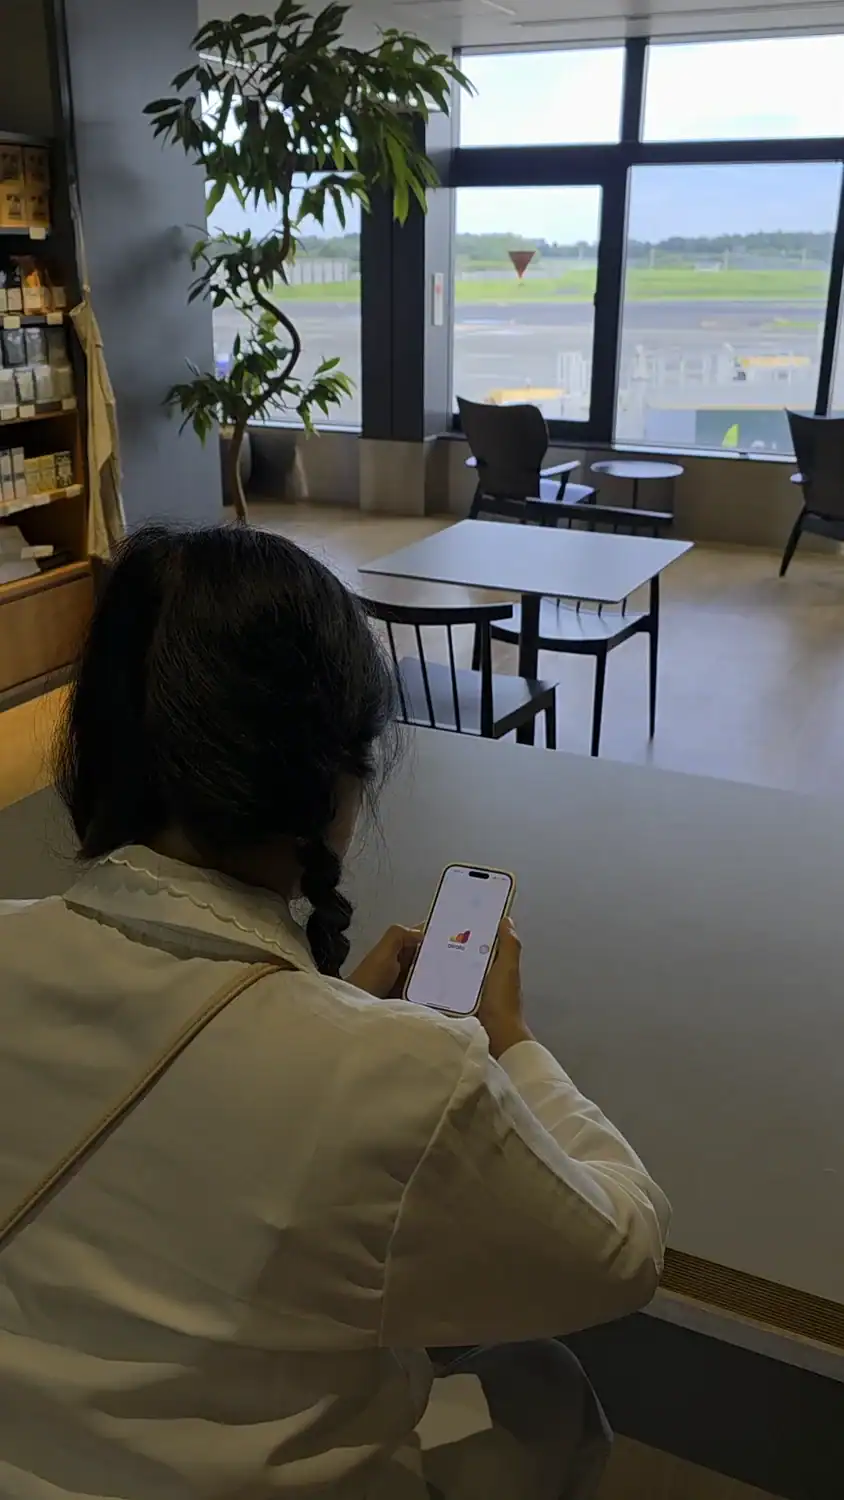
I installed my Airalo eSIM while waiting to board at the Clark airport. It took less than a minute.
When we landed at Narita, I simply turned on my mobile data and it worked instantly.
At immigration, we filled out forms and we needed to provide our hotel address. The free airport WiFi wasn’t available yet. If I hadn’t activated the eSIM earlier, I would’ve been scrambling. That tiny moment alone made it worth it.
Using eSIM in Japan
We used the eSIM across 5 places: Tokyo, Mt. Fuji, Kyoto, Uji, and Osaka. It worked in cities, countryside, mountains, highways. There was only one spot, for maybe 2 minutes on a mountain highway, where the signal dropped. That’s it.
3 Times the eSIM Actually Saved Our Trip
1. Wrong Meeting Point in Shibuya

On our second day, we booked a bike tour around Shibuya–Shinjuku. The meeting point looked like it was just five minutes away, so we grabbed some snacks and coffee first.
But when we got there… it was a diving gear shop. Definitely not the right place. Turns out, Japan often uses mapcodes, not traditional street addresses. We were totally lost.
Because we had the Airalo eSIM, I rechecked the correct location, and we sprinted to the actual meeting point. We made it—just five minutes late. Without data, we would’ve missed the whole thing.
2. Ramen Detour: The Ichiran Near Ichiran
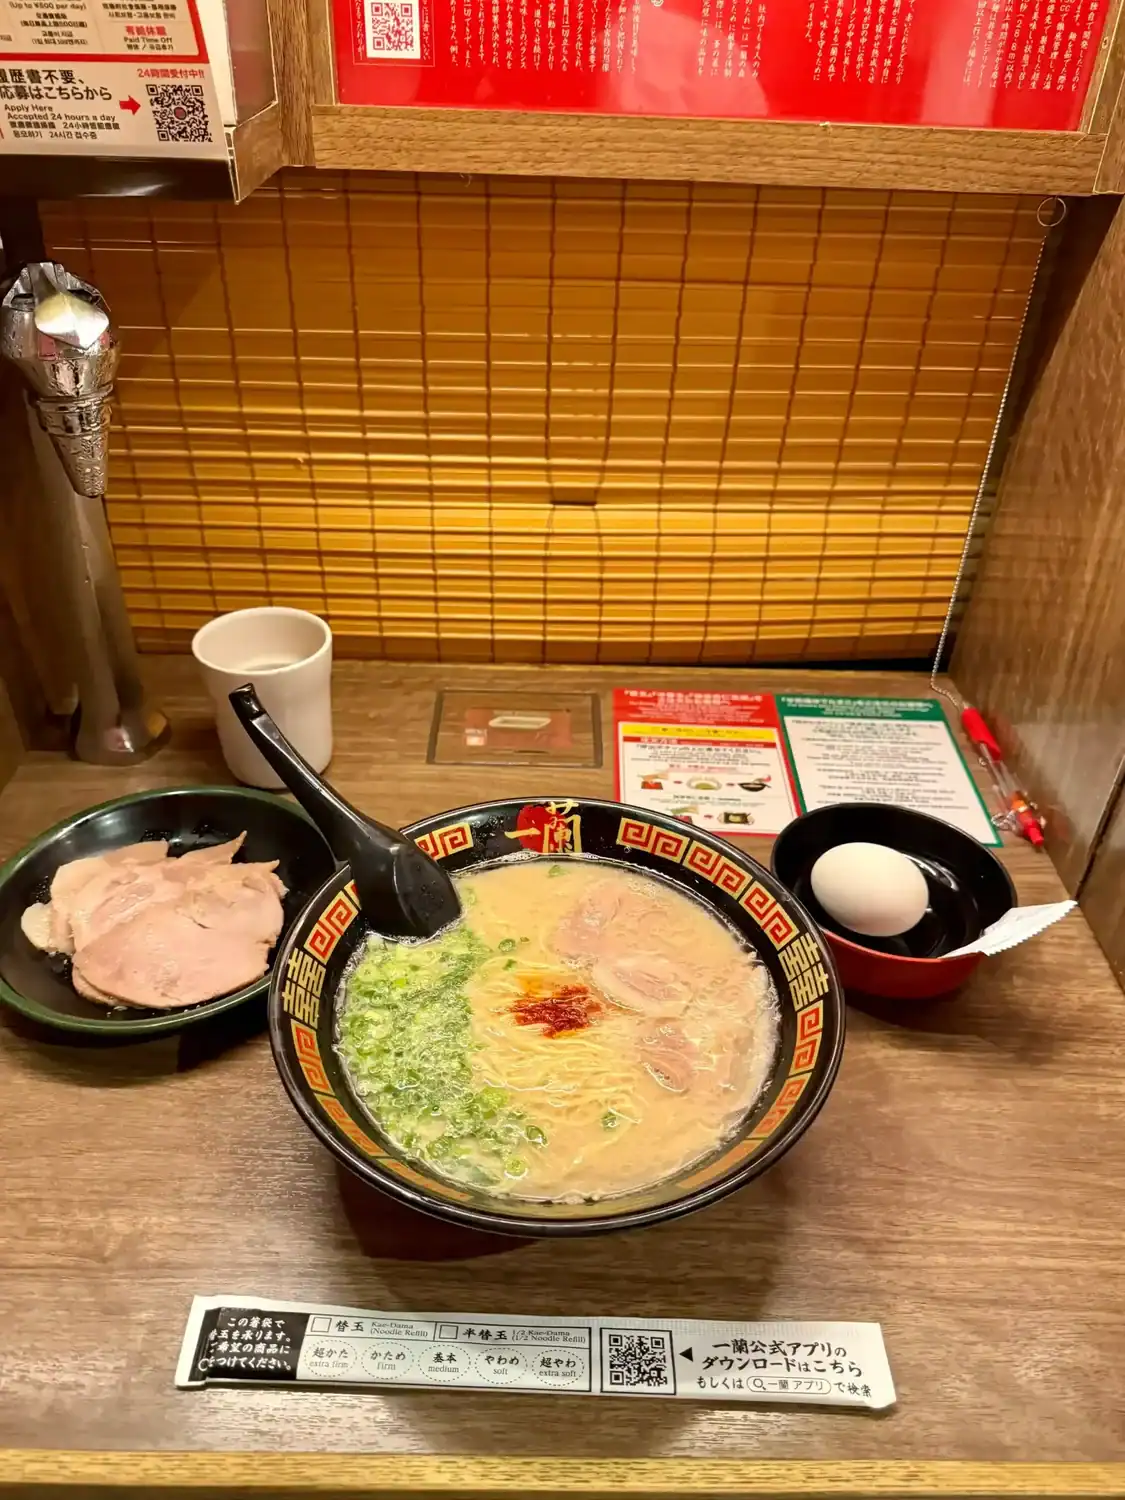
On that same day, we wanted to try Ichiran Ramen, the famous one in Shibuya. When we arrived, there was a 2-hour wait to get a seat.
We gave up and planned to try a different ramen shop. But then, Mat found another Ichiran just five minutes away using Google Maps. We walked over, got seated immediately, and the ramen was absolutely worth it.
Without internet at that moment? We would’ve missed one of the best meals of our trip.
3. The Cash Crunch Before Our Flight

On our last day in Japan, we were taking the train to the airport. But at the station, we realized it didn’t accept credit cards. We already spent our last yen at 7-Eleven.
Thanks to the eSIM, we quickly found the nearest ATM, took out cash, bought our tickets, and made it to the train just in time. If we hadn’t had a connection? We probably would’ve missed our flight back.
Our Trip Didn’t Stress Me
Because we had unlimited data:
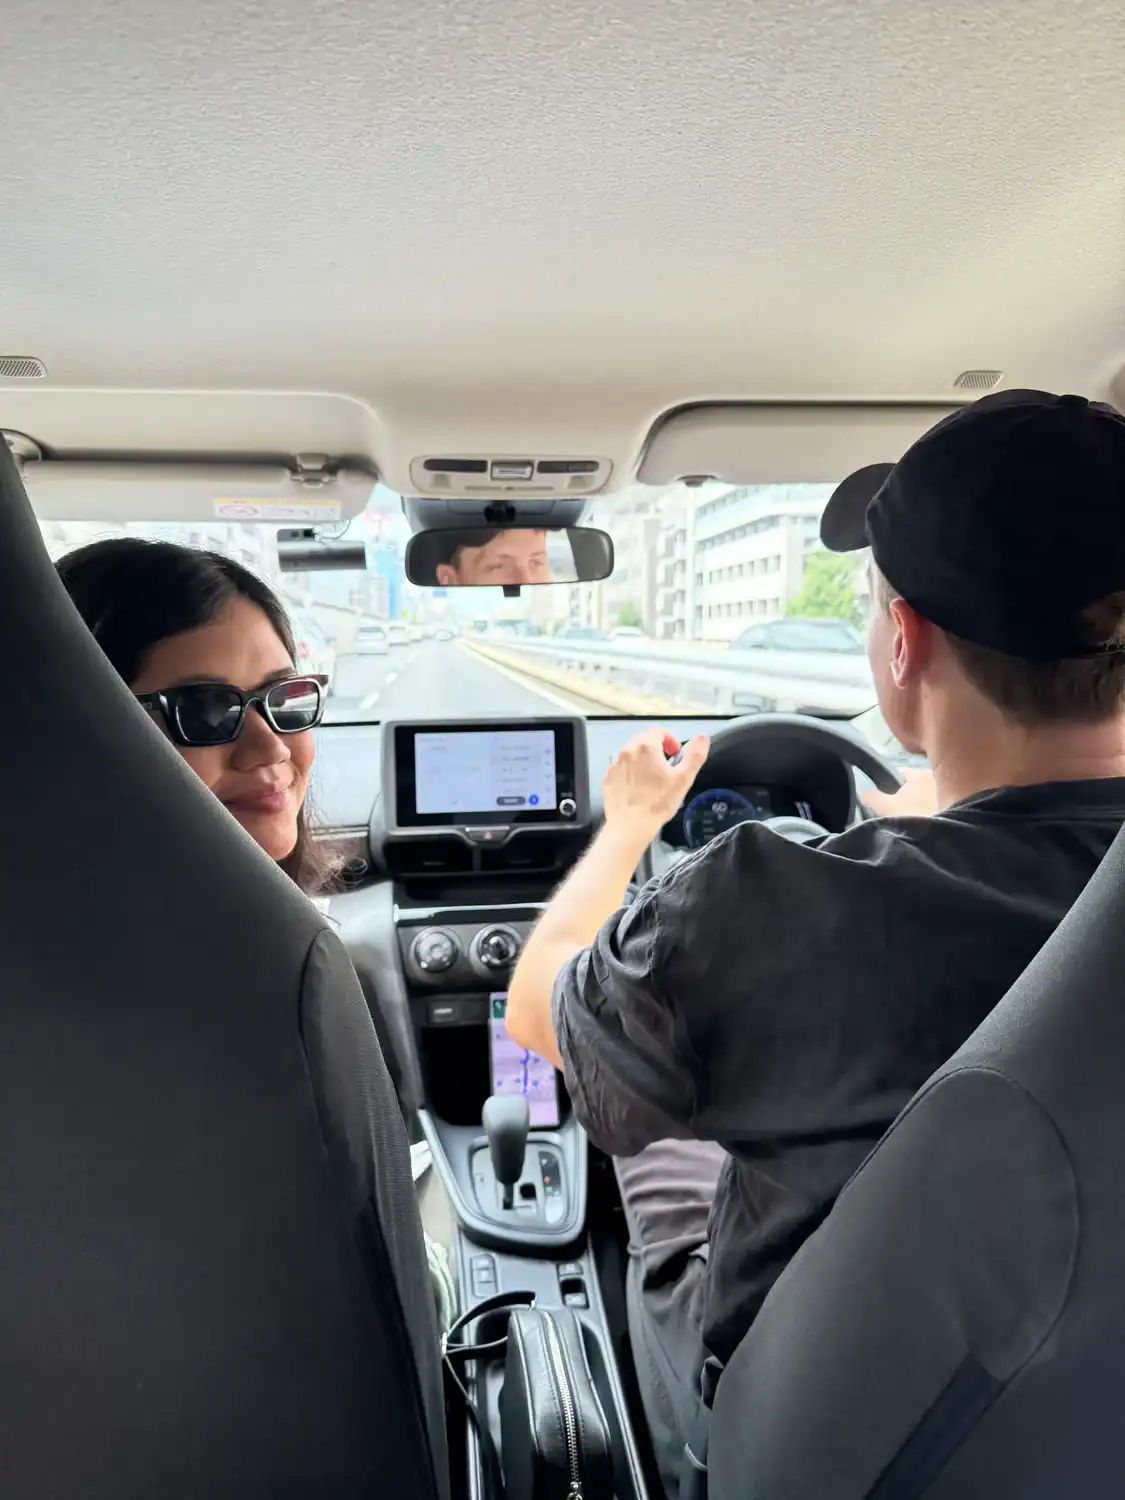
- We used Google Maps constantly while driving.
- We figured out parking rules (very confusing in Japan!).
- We were able to contact our hosts for check-ins.
- We translated menus and signs (even their washing machine).
- We tried different snacks at konbinis.
- We streamed music during our road trip.
- We were able to look for alternative plans when we’re tired or wanted to see something else.
- I uploaded photos and content to my team back in the Philippines in real time.
- I was able to access my blog when needed.
It let us travel without tours, make our own plans, and adjust things. I didn’t feel stressed organizing anything, because I knew we’d always be connected.
Is eSIM worth it for Japan?
For $35, we got unlimited data for 10 days. That’s cheaper than most pocket WiFi options in Japan, and way more convenient than getting a local SIM.

Pocket WiFi costs $30+, and you need to:
- Pick it up
- Carry it everywhere
- Keep it charged
- Return it at the end
Even worse? Many “unlimited” pocket WiFi plans slow your speed to 128kbps after a certain amount of data. The limit resets daily but at that speed, it’s barely usable.
Physical SIMs at the airport start at $23+. But:
- Most are subject to Fair Usage Policy, meaning speeds may drop if you use too much data too fast.
- You need to manually configure the APN (Access Point Name) before browsing.
- You can’t top up once it runs out.
With Airalo, you:
- Pick from short or long-term packages
- Can activate it before you land
- Top up anytime, straight from the app
- Don’t carry extra gadgets
- Get set up in under a minute
🤩 Use code GLADIS15 for 15% off your first Airalo Japan eSIM.
I’ve used eSIMs in Europe, Asia, and the US. I always come back to Airalo. For Japan, especially, it was a game-changer.
How to Install and Activate an eSIM for Japan
Worried about setup? Don’t be. If you can scan a QR code, you can install an eSIM. Here’s how to do it with Airalo:
- Go to the Airalo app (iOS/Android) or website
- Choose “Japan” and select a plan
- Pay via card, Apple Pay, or Google Pay
- Open your email/confirmation screen
- Scan the QR code with your phone or click the button for activation
- Tap “Activate” in your phone settings
- Turn on mobile data. Done.
It took me less than a minute. With other providers, I needed to still configure APN settings. Not with Airalo.
Other eSIMs I Considered (and Why I Didn’t Pick Them)
Before sticking with Airalo, I tested other options on different trips. Some were okay. A few were disasters.
Freewie: Got Me Stuck at the Airport
I used Freewie in Taiwan. The eSIM installed fine, but it wouldn’t connect to data.
I spent 2 hours at the airport chatting with support over the airport WiFi. We tried setting up APN settings several times. Imagine if I had arrived at night or if there was no WiFi available at the airport. Total nightmare. I never used Freewie again.
Yesim: Lost Signal Near the Border
In Switzerland, I used Yesim, and it worked fine until we got close to the Switzerland–Germany border. That’s when we lost the signal.
Thankfully, we were at my partner’s brother’s house and could use WiFi, so it wasn’t a big issue. To be fair, the location near the border may have caused the problem not necessarily the eSIM itself.
Yesim was also slightly more expensive than Airalo, so I haven’t used it again since.
Saily: My partner tried it
My partner tried Saily because it offered a one-eSIM-for-multiple-countries setup, which sounded really convenient.
But when he tried to reload it for a different country, it ended up creating a new eSIM profile instead of using the existing one.
He considered using Saily again for our Japan trip, but their plans only offered 7-day or 30-day options—nothing in between. So he decided to switch to Airalo instead.
If you’re looking for Japan-specific plans, Saily also offers dedicated eSIM plans for Japan worth checking out.
When NOT to Use an eSIM in Japan
While I love eSIMs, they’re not for everyone.
Don’t Use an eSIM If:
- Your phone isn’t unlocked or eSIM-compatible. (Check this before buying!)
- You’re moving to Japan long-term and need a local number for banking or job stuff.
- You’re only visiting super remote rural areas (where no provider has great signal anyway).
Want One Less Thing to Worry About in Japan?
If you want fast, reliable internet the moment you land in Japan, skip the lines, skip the stress, and get an eSIM.
And if you want peace of mind? Get the one that actually worked for me. Airalo is the eSIM I keep coming back to. And now, it’s the only one I recommend
🤩 Use code GLADIS15 for 15% off your first Airalo Japan eSIM.
You’ll be set up in under a minute so you can focus on the ramen, temples, and epic train rides.


I’ve never needed an eSIM, but this had a lot of great info. So how does one get an unlocked phone to be able to use an eSIM? And are there any risks with having an unlocked phone?
Great question! Most newer phones are already unlocked, especially if you bought them directly from Apple, Samsung, or paid in full upfront.
If you’re not sure, you can check in your phone settings (on iPhone: Settings > General > About > Carrier Lock). If it says “No SIM restrictions,” you’re good to go!
There are no risks. Having an unlocked phone just means you’re free to use it with other networks or SIMs while traveling. Locked phones though have better deals with network/data companies and are usually cheaper if bought secondhand.
I’m so glad your talking about this! I’m so new to the traveling thing, I would have no idea how to get started or that I even needed one.
I was the same when I first started traveling. eSIMs make it so much easier to travel now.
Reading this at the perfect time! We are going next year and I’m a huge fan of Airalo. I’m glad it’s reliable in Japan too.
Yay, perfect timing! You’re going to love Japan. Yes, Airalo worked well during our trip. I used it across cities and countryside with zero issues. Enjoy Japan next year!
eSIMs are so convenient!! I travel to Japan every couple of years and was SO glad when I no longer had to pick up and drop off a pocket wifi
Right?! Total game-changer! I used to stress about pickups and returns too plus haggling in Asia. eSIMs the whole trip feel way smoother!